What you get
- Fully managed: n0.computer handles operations, maintenance, and upgrades
- Authenticated by default: only your project’s endpoints can connect, authenticated automatically with your API key
- Isolation: your traffic only; no noisy neighbors
- Version locking: pin to a specific iroh version or run blue/green deployments
- Multi-region & multi-cloud: deploy across regions and providers for resilience
- On-prem: available on Enterprise plans; contact us
- Custom SLAs: contact us
Deploy a relay
1. Sign up and create a Pro project
Sign up at services.iroh.computer and create a project if you haven’t already. The project must be on the Pro plan to deploy managed relays. You can also upgrade your project to Pro in the billing settings.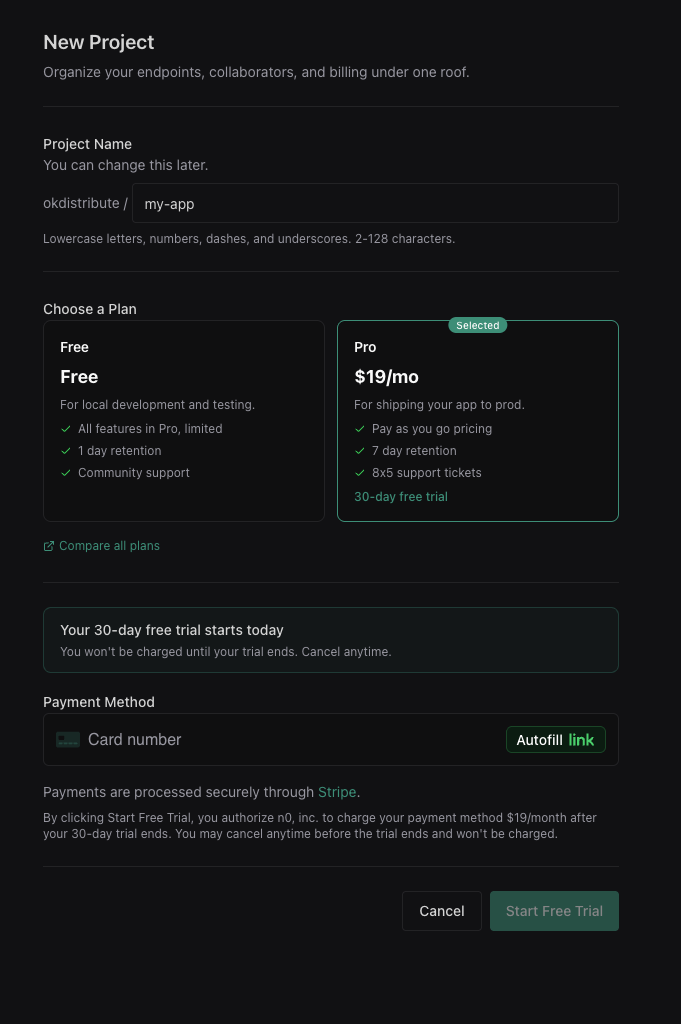
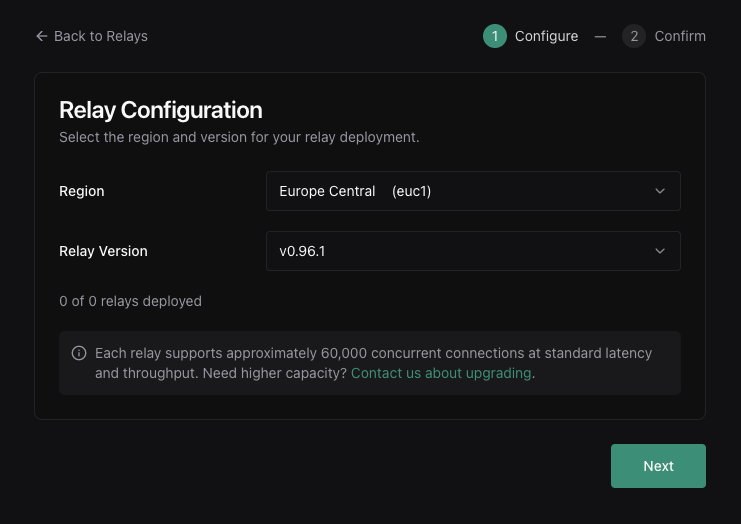
2. Add a relay
Navigate to Relays in your project sidebar and click Deploy Relay. Select a region for your relay.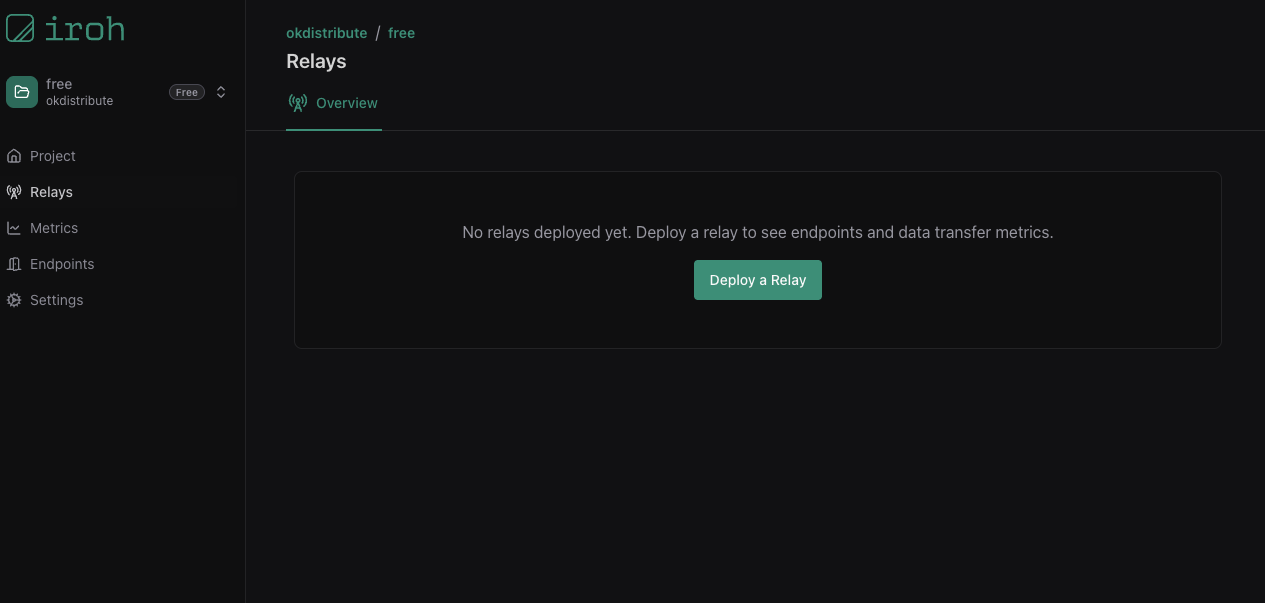
3. Copy your relay URL
Once deployed, your relay URL will appear in the dashboard. Copy it; you’ll need it to configure your endpoints.4. Configure your endpoint
Set your endpoint to use your dedicated relay URLs instead of the public relays: Your dedicated relays require authentication by default. Your endpoint authenticates to them with your project’s API key. Theiroh_services::preset() builder handles
this for you: it mints a short-lived access token scoped to your endpoint’s key
and configures the endpoint to use your relays.
Add the iroh-services crate to your project:
Custom relay URLs are available on Pro and Enterprise projects. On a free project, pass your API key to the preset without
relays(...) to authenticate against the public relays and surface your relay traffic on the dashboard.5. Verify connectivity
Go to your project’s Relays page to confirm your endpoints are connecting through your dedicated relay. You should see connected endpoint counts and traffic metrics.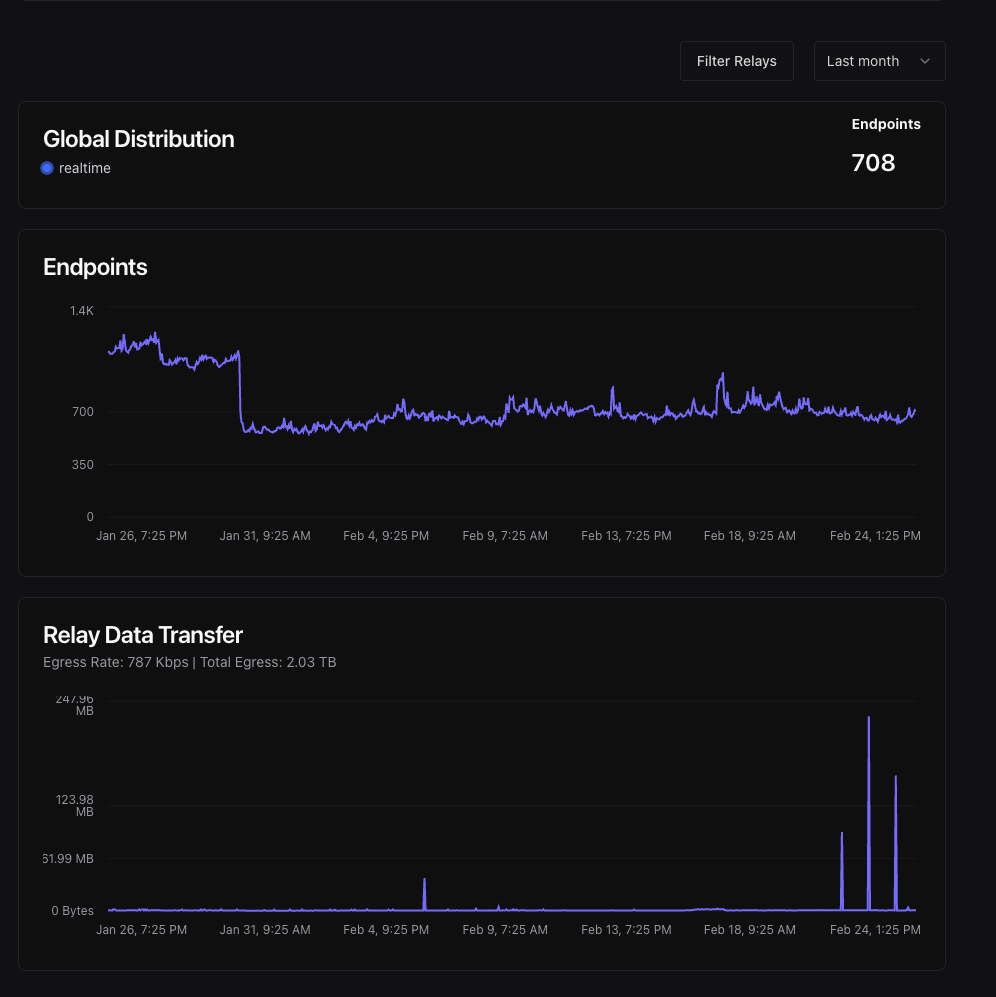
Authentication
Managed relays require authentication by default — only your project’s endpoints can connect. There’s nothing extra to set up: when you build your endpoint with thepreset() and your API key, it authenticates automatically. For how this works under the hood, see relay authentication.
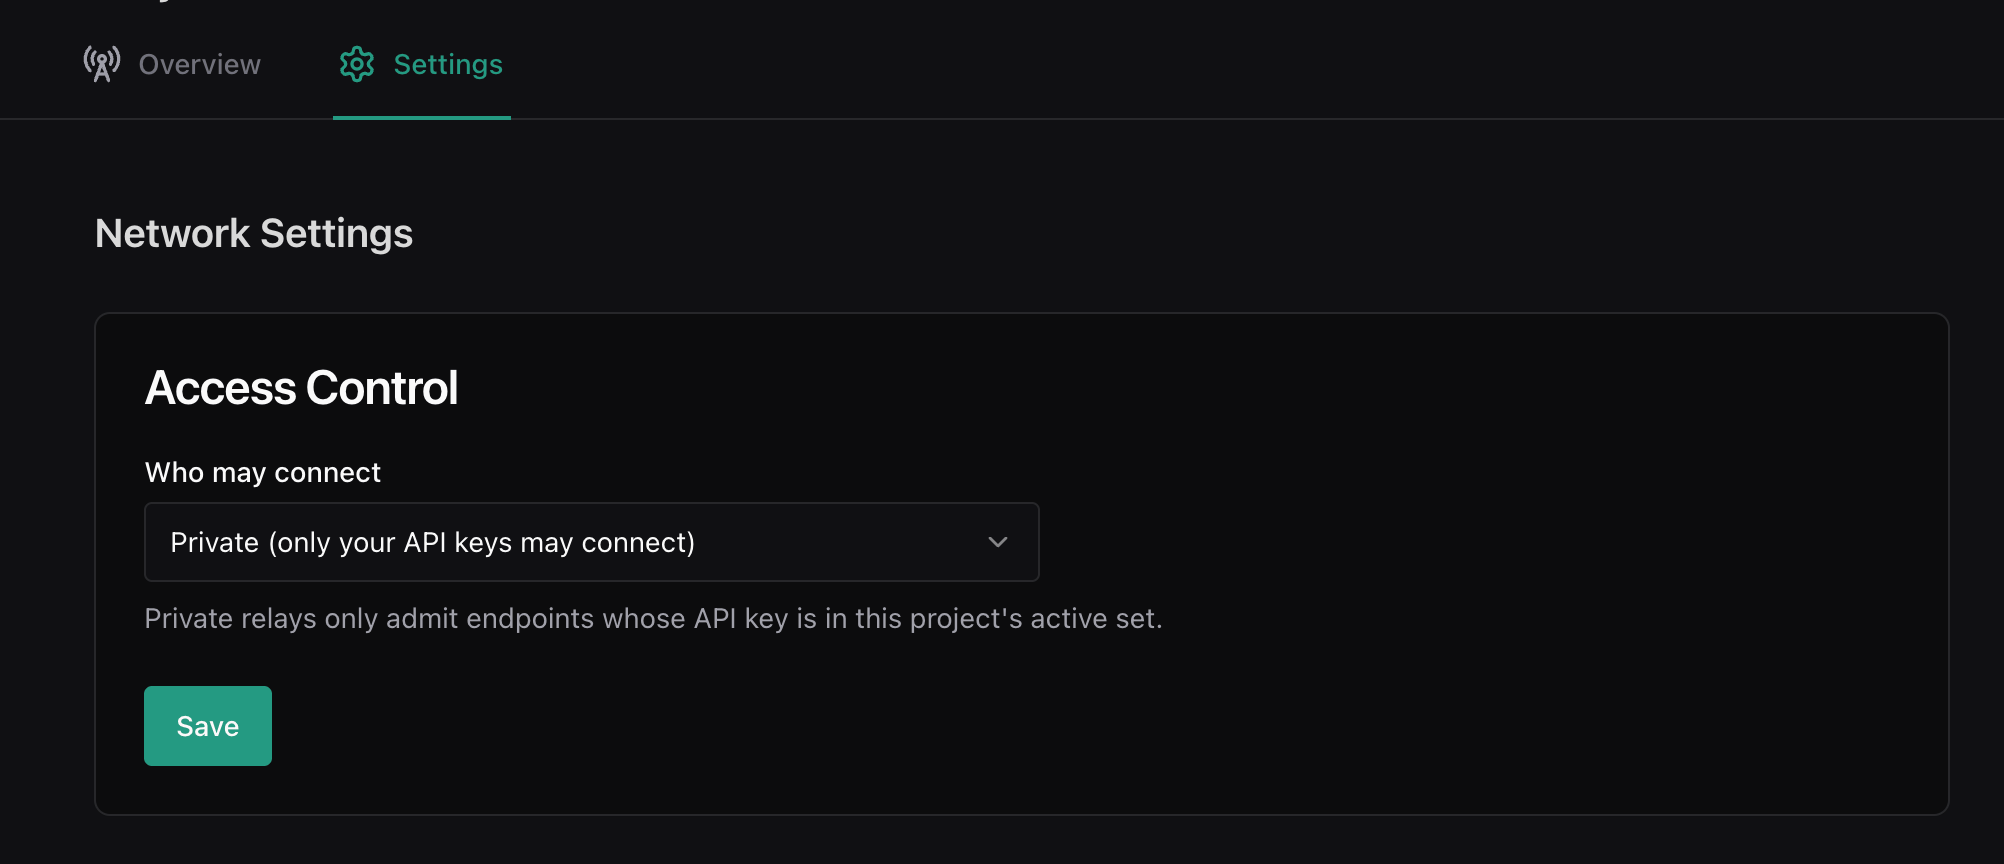
Turn authentication off
If you want any endpoint that has your relay’s URL to be able to use it — not just your project’s endpoints — you can turn authentication off in your relay’s Settings → Network Settings → Access Control. Use the Who may connect dropdown, then Save. In the dashboard this control is labeled Private (authentication on — only your project’s API keys may connect) and Public (authentication off). “Public” here means no API key is required to connect; it does not make your relay discoverable.